Sunday, April 7, 2013
How To: Custom Wall Collage.
Moving into our first home and starting from scratch meant that we had to try really hard to make this house a home. I started with something simple and just bought a wall decal to go above our couch. I think it looks pretty darn cute, but there was still so much more space to fill.
The empty wall in our dining room was practically glaring at me! So, I decided to put our engagement photos to good use and make a wall collage.
Things you will need:
The project is pretty simple and the time it takes to complete depends on how you want everything to look.
1. Start by laying out enough newspaper on the floor to cover your work space and opening windows for proper airflow while painting.

2. If your frames don't seem unfinished enough, take a little bit of sandpaper to rough them up. Luckily, mine were pretty unfinished and did not need any at all.
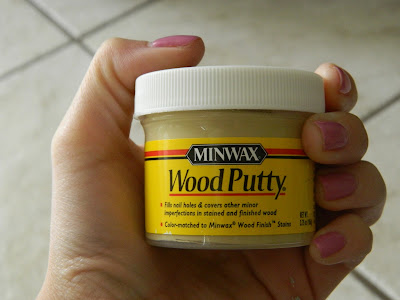
3. Add wood filler to any spaces on the frames. This will allow the paint to go on smoothly without any gaps (unless you are going for that look, of course). Let it dry. This could take anywhere between a few minutes to an hour depending on the amount used.
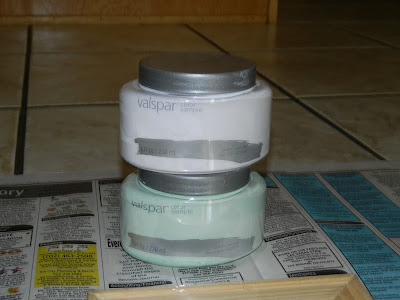
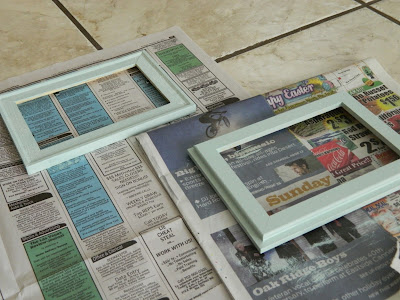
4. Now it's time to paint your frames! I did 2-3 base coats on each one. Remember to allow them to dry between each coat. I also decided to do designs on my 8x10 frames to balance the two colors.

.JPG)

.JPG)
6. Hang your photos up and enjoy! (We broke the "N" while trying to put a picture hanging kit on it, so I will have to buy and paint a new one...keep in mind how delicate wood is when doing this project.)
The empty wall in our dining room was practically glaring at me! So, I decided to put our engagement photos to good use and make a wall collage.
Things you will need:
- Unfinished Wood Frames in various sizes (I chose to do 9 frames- 3 4x6, 3 5x7, 3 8x10)
- Paint Samples (I went to Lowes and found the pre-mixed Valspar paint samples, but you can ask them to mix you a sample in any of the normal colors as well.)
- Paint Brushes (I purchased a 2" brush for base color and then a variety pack from Hobby Lobby)
- Newspaper
- Wood Filler (Optional)
- Sand Paper (Optional)
- Photos to go in frames and any other items that will be a part of the collage!
- Picture Hanging Supplies
The project is pretty simple and the time it takes to complete depends on how you want everything to look.
1. Start by laying out enough newspaper on the floor to cover your work space and opening windows for proper airflow while painting.

2. If your frames don't seem unfinished enough, take a little bit of sandpaper to rough them up. Luckily, mine were pretty unfinished and did not need any at all.
3. Add wood filler to any spaces on the frames. This will allow the paint to go on smoothly without any gaps (unless you are going for that look, of course). Let it dry. This could take anywhere between a few minutes to an hour depending on the amount used.

4. Now it's time to paint your frames! I did 2-3 base coats on each one. Remember to allow them to dry between each coat. I also decided to do designs on my 8x10 frames to balance the two colors.


.JPG)

5. Place your photos in the frames and arrange them on the floor in the way you want them to hang on the wall. I recommend that spacing between frames be about 1/2"-2" apart. But, it all depends on how you want it to look!
.JPG)
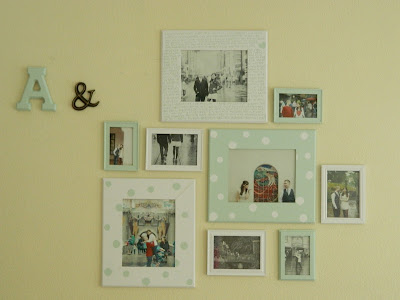
6. Hang your photos up and enjoy! (We broke the "N" while trying to put a picture hanging kit on it, so I will have to buy and paint a new one...keep in mind how delicate wood is when doing this project.)

Overall, this project was about $70 (start to finish- including frames, paint, tools, picture prints, etc.) It is definitely well worth it because I know a lot of my time and effort went into it and nobody else will have this exact piece hanging in their house.
Please let me know what you think about posts like this and if you would like to see more!
Subscribe to:
Post Comments (Atom)
hi there!

i'm angelica. a twenty something, newly engaged, lover of literature and coffee.


grab a button, share the love.


ebates
Blog Lovin

0 comments:
Post a Comment